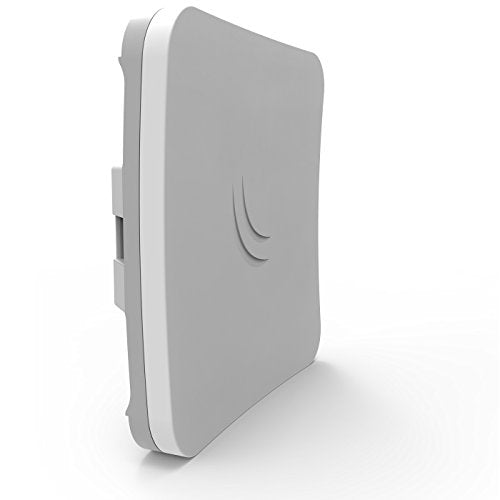
To effectively place your network extender and maximize coverage in dead zones, follow these steps:
1. Choose the right location: Find a central location away from obstructions such as walls, furniture, or reflective surfaces. This will ensure better signal propagation throughout the area.
2. Check the signals: Position your network extender in an area where the primary router's signals are strong. This will help amplify the existing signal and extend it further, rather than relying on weak or unreliable signals.
3. Experiment with placement: Test different locations within the dead zones to find the optimal spot. Sometimes, a slight adjustment or moving the extender a few feet can provide a noticeable improvement in signal strength.
4. Avoid interference: Keep your network extender away from other devices that may cause interference, such as cordless phones, microwave ovens, or baby monitors. These devices can disrupt the Wi-Fi signal and reduce the extender's effectiveness.
5. Consider height and range: Placing the extender higher, such as on a shelf or mounted on a wall, can help improve signal coverage. Additionally, make sure the extender is positioned within range of the primary router, as a weak connection can limit its effectiveness.
6. Use the extender's indicators: Many network extenders come with signal strength indicators. Use these indicators to guide your placement, ensuring that the extender is positioned in a location where it receives a strong signal from the router and can effectively extend coverage.
7. Test and optimize: Perform speed tests or check the signal strength on your devices in the dead zones to verify if the placement is effective. If needed, make further adjustments and retest until satisfactory coverage is achieved.
Remember, every home or office environment is different, so it may take some trial and error to find the best placement for your network extender.


